Why should you detail your own car? Some people think that taking their car to the car wash is all they need to do to keep their car looking great; however, cheap and quick car washes can leave your car with scratches, swirls in the paint, and not protect your car from the elements. I try to detail my vehicles twice a year, for the exterior that means not only washing, but also using an iron remover, clay bar, and waxing.
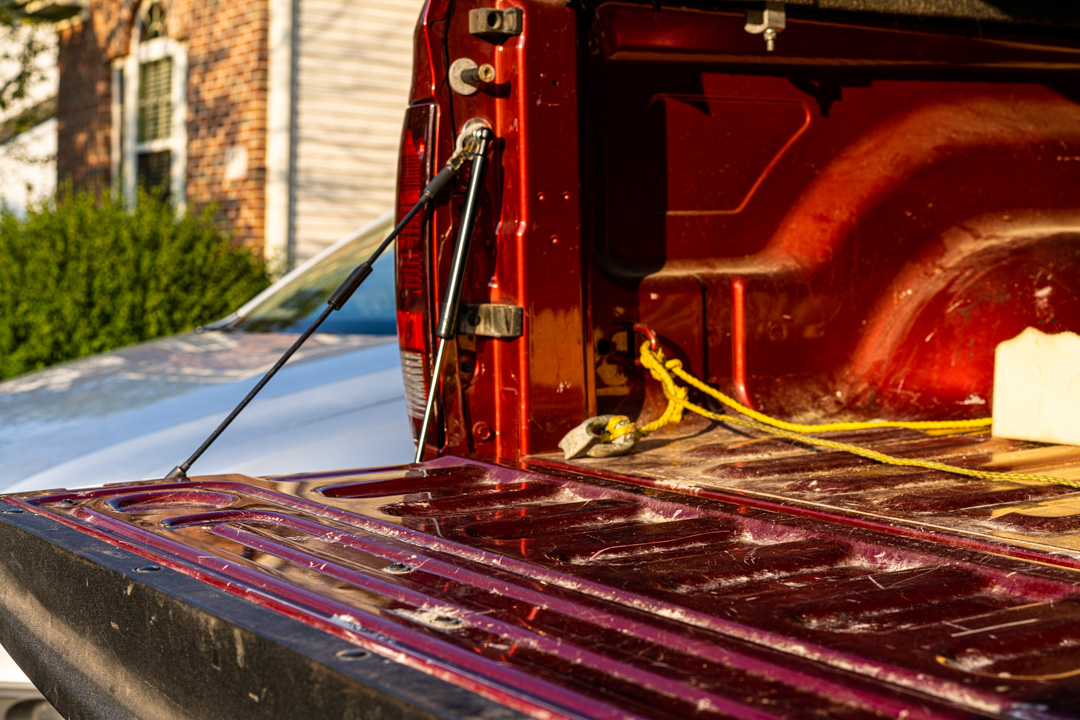
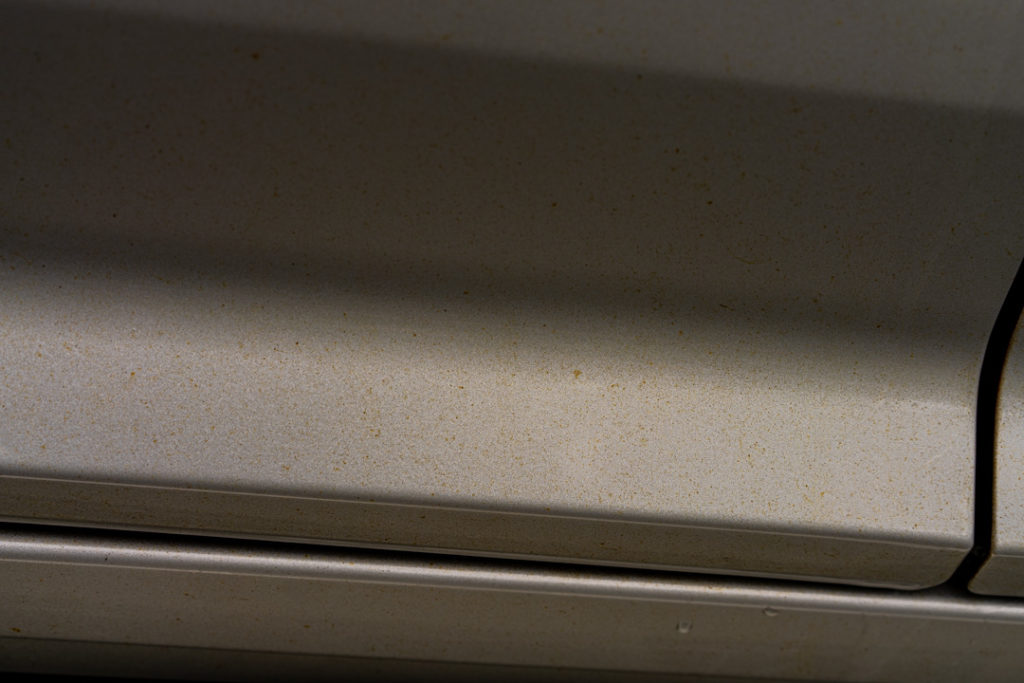
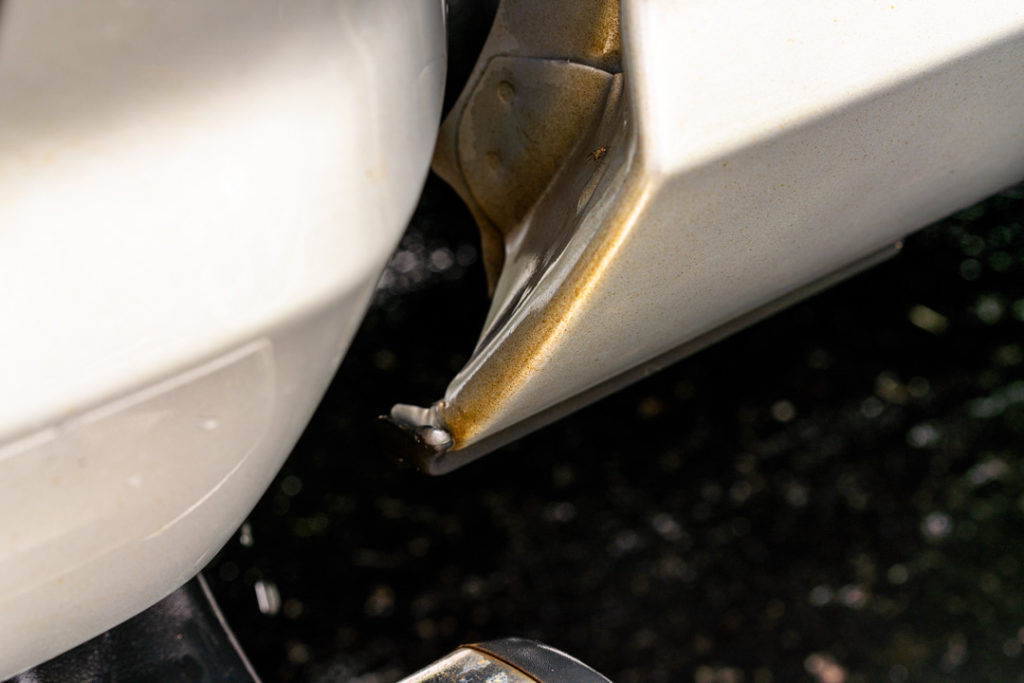
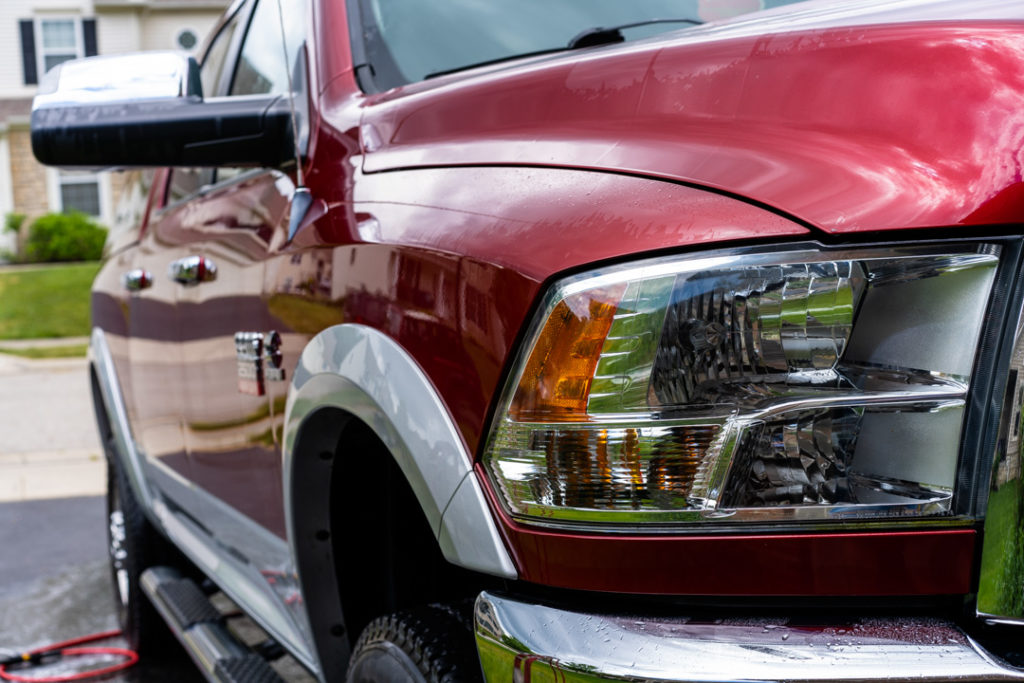
Earlier this Spring, the front brake on the Ram locked up and totally disintegrated the brakes. The aftermath of this was a fine layer of iron throughout the paint on the driver side. The iron slowly started to rust and left the surface feeling like sandpaper. Washing the truck did not remove the rust, and it continued to get worse. The contaminants had embedded themselves into the clear coat of the truck. The bonded contaminants have corrosive properties and over time they will destroy the finish of your vehicle.
First step is to wash your vehicle. I prefer to use a power washer with a foam canon and soap specifically made for a foam canon. I like to pre-rinse the vehicle first, then spray soap suds on with the foam canon. Next I wash the vehicle with a terry cloth mitten and a bucket with the same soap that was in the foam canon. Ideally, it is a good idea to have 2 buckets, one for soap and the other filled with water to rinse the mitten before it goes back into the soap bucket. This minimizes the risk of re-applying the grit and contaminants back to your vehicle which could scratch and/or put swirls in the paint.
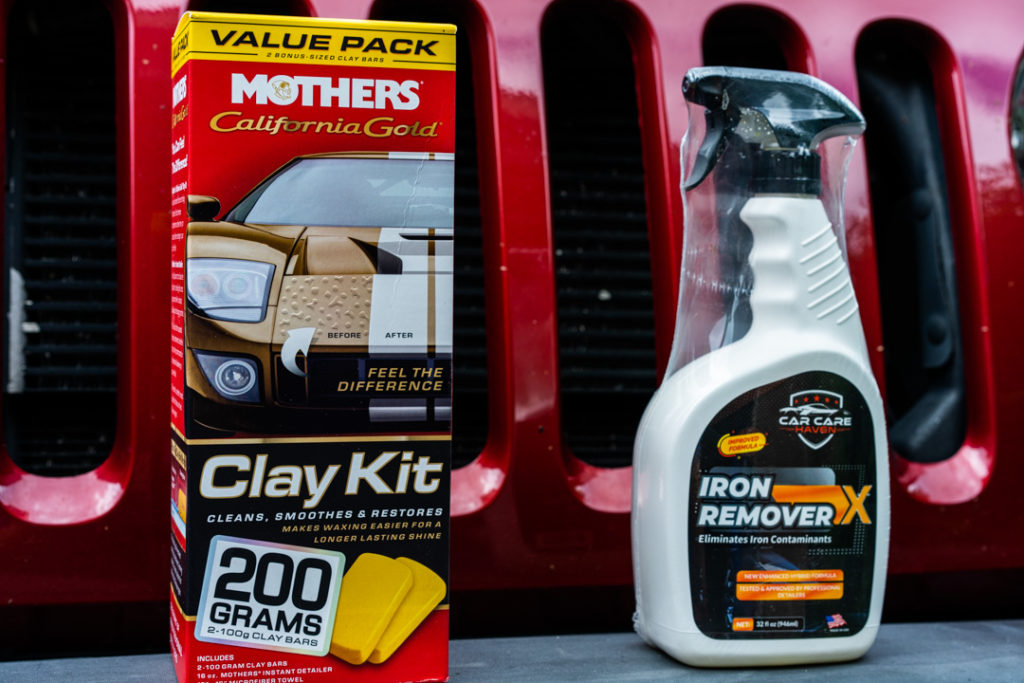
After the vehicle has been washed and dried it is time to remove the contaminants from the paint. Depending on how bad the paint is will determine if you should use an iron remover before using the clay bar. The clay bar will remove iron from the paint, but depending on how much iron is in the paint will determine how effective it is at removing the contaminants. Solely relying on the clay bar to remove iron contaminants can cause the bar to become overloaded with iron and cause scratches in the paint. For a 1-2 punch it is best to use a chemical iron remover first followed up with a clay bar to remove the rest of the impurities. This will decrease the risk of scratching the paint with the clay bar.
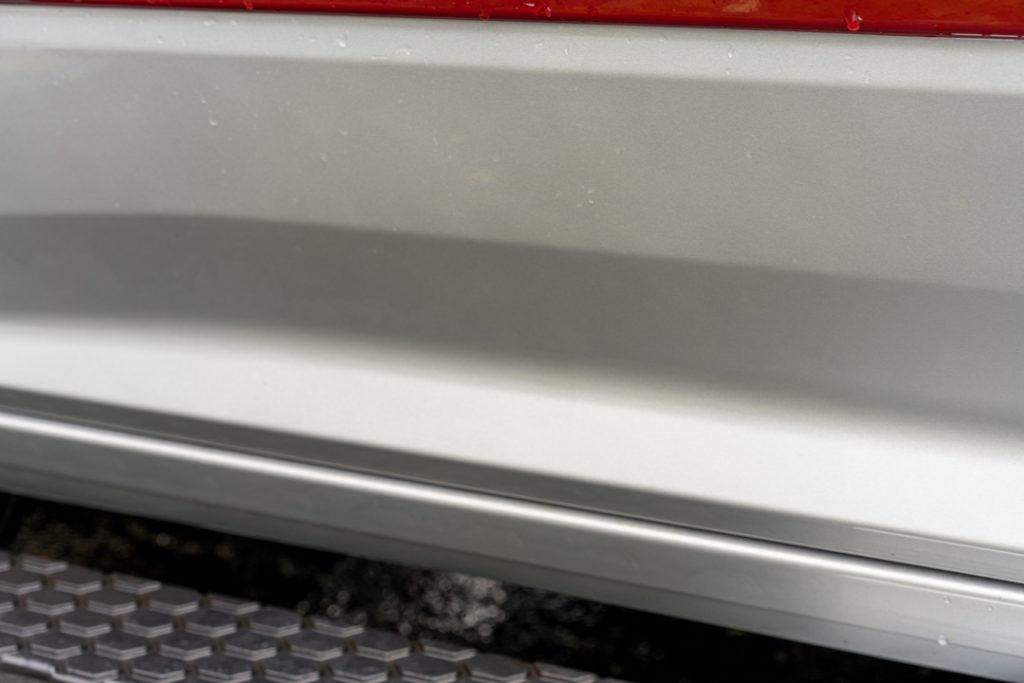
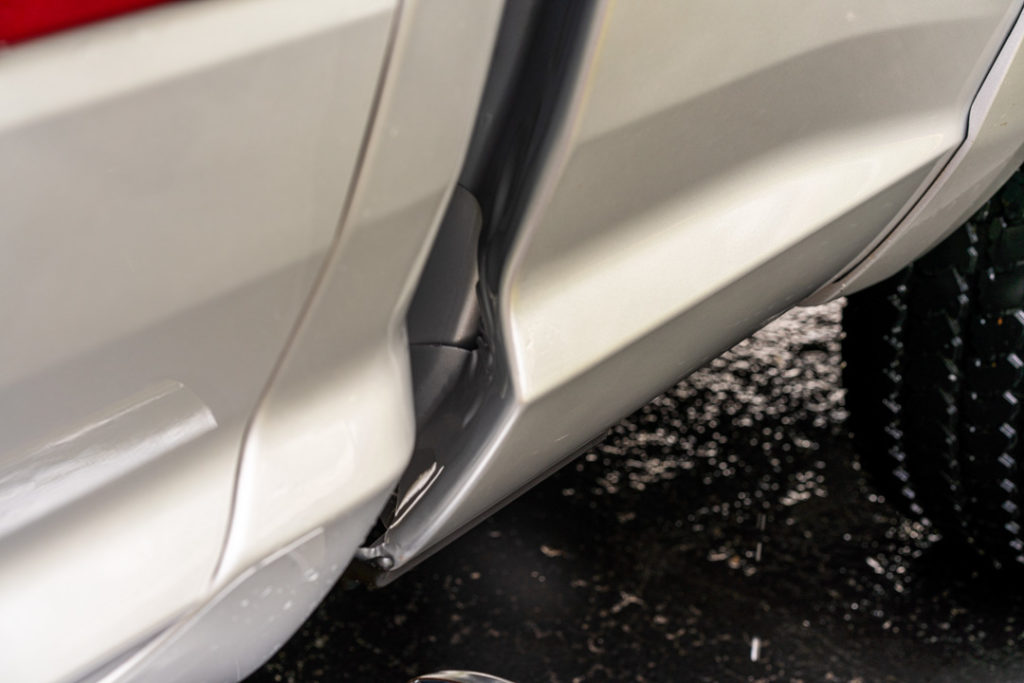
The last step that needs to be done is waxing the vehicle. For this I like to use Maguiar’s NXT Generation 2.0. This will fill the microscopic pits left from removing the contaminants.
Let me know what products you use to detail your car: http://theartisanlifeco.com/contact/
Theartisanlifeco.com is a participant in the Amazon Services LLC Associates Program, an affiliate advertising program designed to provide a means for sites to earn advertising fees by advertising and linking to amazon.com. If you enjoyed this article, and are considering purchasing the products reviewed please check out the links below. Thank you.
Mothers California Gold Clay Bar Kit: https://amzn.to/2BUAOYY
Car Care Haven Iron Remover X: https://amzn.to/302deBs
Meguiar’s NXT Generation Tech Wax 2.0: https://amzn.to/38X8u4c
Camera Gear Used:
Sony A7RIV: https://amzn.to/2YKp0AZ
Sony 55 mm F1.8 Lens: https://amzn.to/2CKVFOa
DJI Ronin-S Essentials kit: https://amzn.to/2YGcgey
